Soap making is an art that has captured the imagination of DIY enthusiasts around the world. For those new to the craft, melt and pour soap making is a fantastic entry point. This beginner-friendly approach provides a creative and satisfying experience without the complexities of traditional soap making. In this guide, we’ll provide you with essential tips to master melt and pour soap making as a novice.
What is Melt and Pour Soap Making?
Melt and pour soap making involves using a pre-made soap base, which you melt, customize, and mold into various shapes and designs. This method eliminates the need to handle lye, a caustic chemical required in traditional soap making, making it a safer and more accessible option for beginners.
Essential Tips for Beginners:
- Gather Your Materials: Before diving in, ensure you have all the necessary materials at hand. You’ll need a melt and pour soap base, fragrance oils or essential oils, colorants, molds, and any additives you wish to include (e.g., herbs, exfoliants).
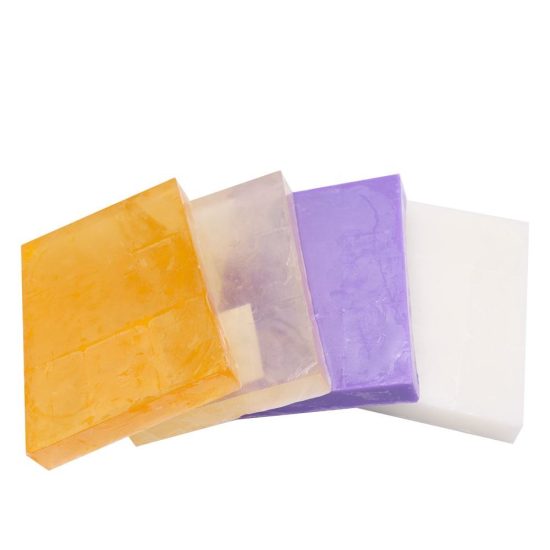
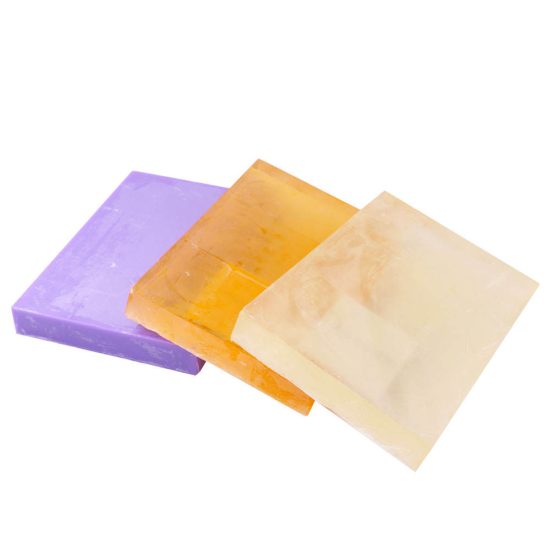
- Choose the Right Soap Base: Select a soap base that suits your skin type and the kind of soap you want to create. Common bases include clear glycerin, white shea butter, goat’s milk, honey, and aloe vera. Each has distinct properties and benefits.
- Cut the Soap Base: Begin by cutting the soap base into small, even pieces. Smaller pieces melt more evenly and quickly.
- Melt the Soap Base: You can melt the soap base using either a microwave or a double boiler. In the microwave, heat the chunks in 20-30 second intervals, stirring in between, until completely melted. In a double boiler, place the chunks in the top pan and melt over simmering water, stirring occasionally.
- Adding Fragrance and Color: After melting the base, stir in your chosen fragrance oil or essential oil. Add colorants if you wish to change the color. Start with a small amount and adjust as needed to achieve your desired scent and color.
- Incorporate Additives: This is the time to add any extra ingredients like herbs, exfoliants, or decorative elements. Stir them in evenly to distribute throughout the soap.
- Pour into Molds: Carefully pour the melted soap base into your chosen molds. Silicone molds come in various shapes and sizes and work well for soap making.
- Cool and Set: Allow the soap to cool and harden in the molds. This usually takes a few hours. For quicker results, you can place the molds in the refrigerator.
- Demold and Cut: Once your soap has solidified, remove it from the molds. Use a sharp knife or soap cutter to trim and shape the bars as desired.
- Curing: To ensure your soap is fully dry and hard, let it cure for a few weeks in a cool, dry place. This step improves the soap’s longevity and quality.
- Packaging: After curing, your handmade soap is ready for use or gifting. Package it in an attractive and eco-friendly manner to enhance its appeal.
Benefits of Melt and Pour Soap Making for Beginners:
- Safety: It doesn’t involve lye, making it safer for beginners.
- Creativity: You can experiment with colors, scents, and additives to create personalized soap.
- Quick Results: Melt and pour soap making allows you to create beautiful bars of soap in a short amount of time.
In conclusion, melt and pour soap making is a fantastic way for beginners to dip their toes into the world of soap crafting. With these tips and some creativity, you’ll soon be crafting personalized soap bars that not only cleanse but also delight the senses. Enjoy your soap making journey!