Bath bombs are a delightful and aromatic addition to your bath, but did you know that you can easily make them at home? Creating your own DIY bath bombs allows you to customize scents, colors, and ingredients, ensuring a personalized bathing experience that is as unique as you are. In this guide, we’ll walk you through the steps to make your own luxurious bath fizzies right in the comfort of your home.
Ingredients You’ll Need:
- 1 cup baking soda: This is the primary fizzing agent in bath bombs.
- 1/2 cup citric acid: Another essential ingredient for fizziness.
- 1/2 cup Epsom salt: Adds a relaxing element to your bath.
- 1/2 cup cornstarch: Helps to bind the ingredients together.
- 3/4 teaspoon water: You can add more or less for your desired consistency.
- 2 teaspoons of your preferred carrier oil: Coconut oil, almond oil, or olive oil work well.
- 1 teaspoon of your favorite essential oil: Choose a scent that suits your mood and preferences.
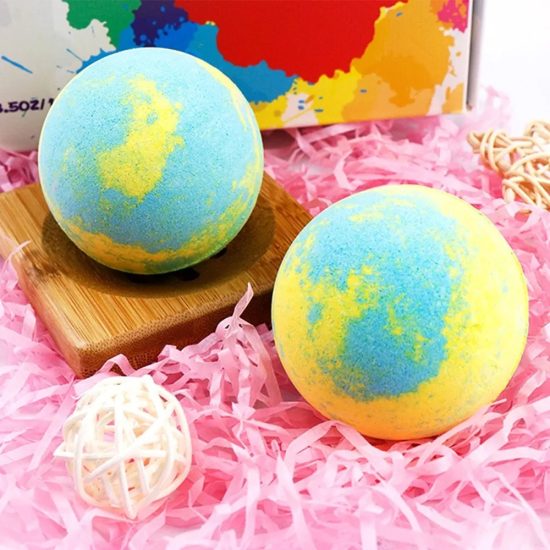
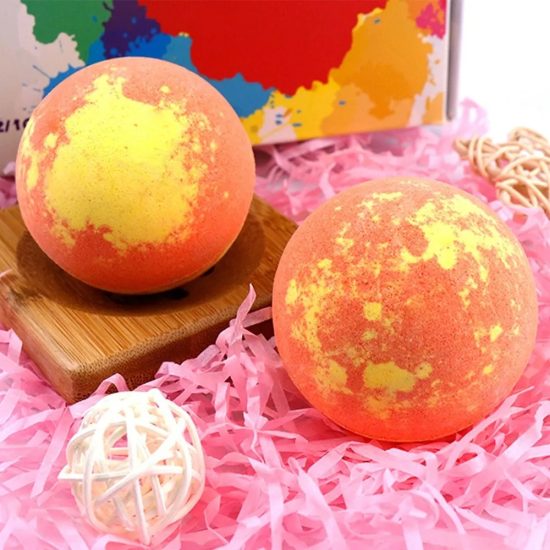
- Food coloring (optional): To add color to your bath bombs.
Equipment You’ll Need:
- Mixing bowls
- Whisk
- Molds: You can use special bath bomb molds, silicone ice cube trays, or even your hands.
- Spray bottle with water: For precise water application.
Step-by-Step Instructions:
1. Mix the Dry Ingredients:
In a mixing bowl, combine the baking soda, citric acid, Epsom salt, and cornstarch. Use the whisk to ensure the mixture is well-blended.
2. Mix the Wet Ingredients:
In a separate bowl, mix the water, carrier oil, essential oil, and a few drops of food coloring (if desired).
3. Combine the Mixtures:
Slowly add the wet mixture to the dry mixture while continuously stirring. Make sure to mix well and break any clumps that may form.
4. Test the Mixture:
To check if the mixture is ready, take a small amount in your hand and squeeze it. It should hold its shape without falling apart. If it’s too dry, add a few spritzes of water and mix again.
5. Pack the Mixture:
Fill your molds with the mixture, pressing it down firmly. If you’re using spherical molds, slightly overfill them and then press the halves together.
6. Let Them Dry:
Place your filled molds on a tray and let them sit for at least 24 hours to harden. Make sure they are in a dry place and away from any moisture.
7. Unmold and Enjoy:
Once the bath bombs are completely dry, carefully remove them from the molds. Your homemade bath bombs are now ready to use!
Tips and Ideas:
- Experiment with different essential oil scents, such as lavender, eucalyptus, or citrus, to create your favorite fragrances.
- For a more luxurious feel, consider adding dried herbs or flower petals to the mixture.
- Customize the color by adjusting the amount of food coloring or using natural colorants like spirulina or beetroot powder.
- Store your bath bombs in an airtight container to maintain their freshness.
Creating your own bath bombs is not only a fun and creative project but also a fantastic way to enjoy a luxurious spa experience in the comfort of your home. Whether you’re treating yourself or giving them as thoughtful gifts, your DIY bath bombs will provide a delightful and personalized bathing experience that you’ll love. Enjoy your homemade bath fizzies and the relaxation they bring!