Homemade soap making is a fascinating blend of science and artistry. One of the most versatile and accessible ways to dive into this craft is by using soap bases. In this guide, we will embark on a journey to explore the myriad possibilities that soap bases offer for creating unique and personalized bars of soap.
Understanding Soap Bases
Soap bases, also known as melt and pour soap bases, serve as the building blocks for your handmade soap creations. They are essentially pre-made soap that you can melt down and customize according to your preferences. Whether you’re a seasoned soap maker or a novice, soap bases open up a world of creative possibilities.
Varieties of Soap Bases
One of the exciting aspects of working with soap bases is the wide range of choices available. Here are some of the most common types:
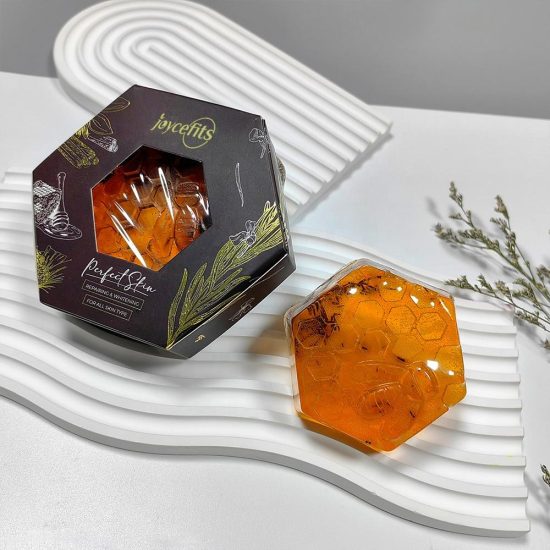
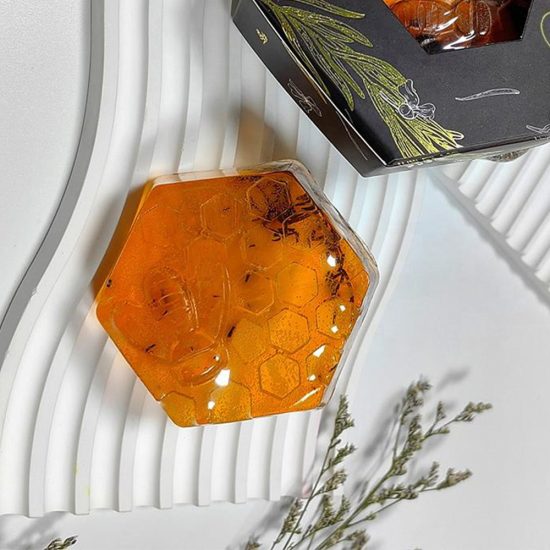
- Clear Glycerin Soap Base: This base is transparent and ideal for embedding objects, creating colorful and artistic designs, and allowing the use of vibrant dyes and additives.
- White Shea Butter Soap Base: Shea butter adds moisturizing properties to your soap. It’s perfect for those with sensitive or dry skin.
- Goat’s Milk Soap Base: Goat’s milk is renowned for its skin-nourishing properties. Using this base results in a creamy and luxurious soap.
- Honey Soap Base: Honey adds natural sweetness to your soap, making it an excellent choice for a gentle, soothing cleanse.
- Aloe Vera Soap Base: Aloe vera has healing and soothing properties for the skin, making it an excellent choice for those with skin sensitivities.
Customizing Your Soap Base
The beauty of soap base crafting lies in the ability to personalize your soap bars. Here’s how you can do it:
- Scented Sensations: Enhance the sensory experience by adding fragrance oils or essential oils. The options are endless, from calming lavender to zesty citrus.
- Vibrant Colors: Customize the appearance of your soap by incorporating cosmetic-grade colorants or natural alternatives like herbs and spices.
- Texture and Exfoliation: Enhance the feel of your soap by adding exfoliants like ground coffee, oatmeal, or poppy seeds.
- Layered Creations: Experiment with layering colors and textures to create captivating visual effects.
- Embellishments: Elevate the aesthetics by embedding flower petals, herbs, or even small toys in your soap.
Step-by-Step Soap Base Crafting
- Melt the Base: Begin by cutting your chosen soap base into small, even chunks. Melt it using a microwave or a double boiler.
- Customize: Add fragrance, color, and any additional ingredients while the base is still in its liquid state.
- Mold and Cool: Pour the mixture into molds and allow it to cool and solidify. This usually takes a few hours.
- Unveil Your Creations: Once your soap bars have solidified, remove them from the molds and get ready to use or gift them.
The Beauty of Soap Base Creations
- Accessibility: Beginners and experienced soap makers can both enjoy the convenience of soap bases.
- Endless Creativity: Experiment with different base types and customization options to create unique soap bars.
In conclusion, soap bases open a world of possibilities in the realm of homemade soap making. They offer a perfect starting point for novices and a canvas for experienced artisans to unleash their creativity. So, don’t wait; grab a soap base, and start crafting your one-of-a-kind soaps today. It’s a journey filled with delightful fragrances, vibrant colors, and endless inspiration. Happy soap crafting!