There’s something uniquely satisfying about creating your own bar soap. Beyond its functional purpose, soap-making is a blend of art and science, allowing you to customize ingredients, scents, and textures to create a unique product that suits your skin’s specific needs. In this guide, we’ll explore the world of DIY bar soap, including the basics, tips, and some tried-and-true recipes to get you started on your soap-making journey.
Why Make Your Own Bar Soap?
Before we dive into the specifics of soap-making, let’s understand why crafting your own bar soap can be so rewarding:
1. Control Over Ingredients:
Commercial soaps often contain chemicals and additives that can be harsh on the skin. By making your own soap, you have control over the ingredients, enabling you to create a gentle, natural product tailored to your skin.
2. Eco-Friendly:
DIY bar soap often involves minimal packaging, reducing the environmental impact associated with soap production and transportation.
3. Creative Outlet:
Soap-making is a creative and therapeutic hobby that allows you to experiment with colors, scents, and designs. It’s an excellent way to unwind and express your creativity.
4. Customization:
You can tailor your soap to your skin’s specific needs. Whether you need a moisturizing, exfoliating, or soothing soap, you can adjust the ingredients accordingly.
Basic Ingredients for DIY Bar Soap
Before we delve into recipes, let’s take a look at some essential ingredients for making bar soap:
- Lye (Sodium Hydroxide): This is a key ingredient for saponification, the chemical reaction that turns oils into soap. Handle lye with care and follow safety guidelines.
- Oils and Fats: You can use a variety of oils like olive, coconut, palm, or shea butter to create the soap’s base.
- Water: Distilled water is typically used in soap-making.
- Essential Oils: These provide fragrance and therapeutic properties. Choose oils that suit your preferences and skin type.
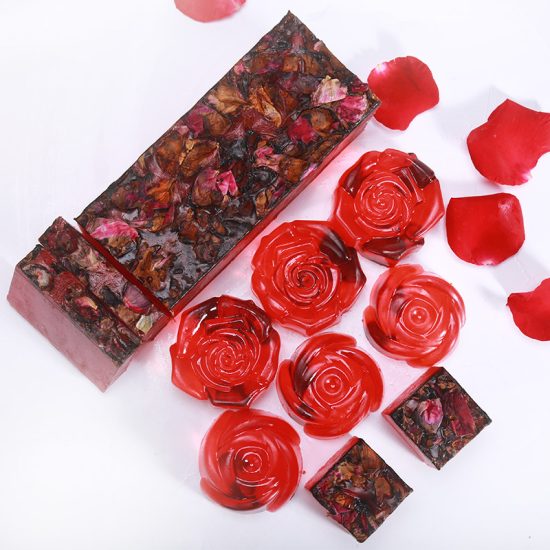
- Additives: Depending on your recipe, you can add herbs, spices, clays, or exfoliants like oats or poppy seeds for texture.
DIY Bar Soap Recipes
Here are three beginner-friendly recipes to get you started:
1. Basic Olive Oil Soap:
- 600g Olive Oil
- 77g Lye
- 177g Distilled Water
- Essential oils (optional)
2. Coconut Milk and Lavender Soap:
- 500g Coconut Oil
- 64g Lye
- 144g Coconut Milk
- 144g Distilled Water
- Lavender essential oil
3. Honey and Oatmeal Exfoliating Soap:
- 450g Shea Butter
- 57g Lye
- 142g Distilled Water
- 2 tablespoons honey
- 2 tablespoons finely ground oatmeal
Steps to Make DIY Bar Soap:
- Safety First: Wear protective gear, including gloves and safety glasses, and work in a well-ventilated area when handling lye.
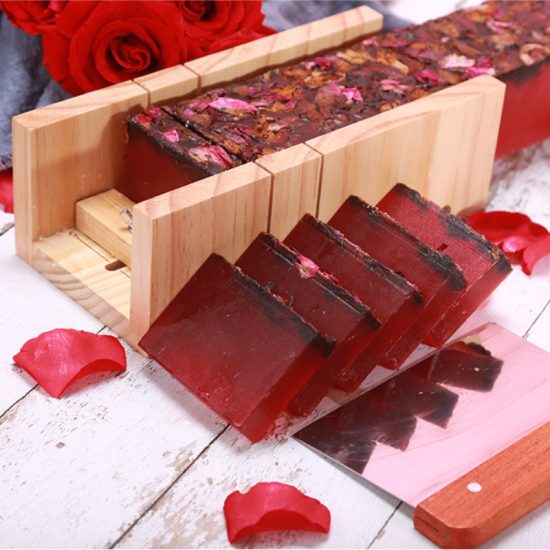
- Prepare Your Mold: Line your soap mold with parchment paper or use silicone molds.
- Measure Ingredients: Weigh and measure all your ingredients accurately.
- Mix Lye: Slowly add lye to water, stirring until dissolved. Allow it to cool.
- Melt Oils: Melt your chosen oils in a heat-safe container.
- Combine: Carefully mix the lye solution with the melted oils.
- Add Extras: Add essential oils, herbs, or other additives to the mixture.
- Pour and Set: Pour the soap mixture into the mold and allow it to set for about 24-48 hours.
- Cut and Cure: Once set, cut your soap into bars and let them cure for 4-6 weeks. This allows the soap to harden and become milder on the skin.
Conclusion
Creating your own bar soap is not only a rewarding hobby but also a sustainable and natural way to care for your skin. Experiment with different oils, scents, and additives to tailor your soap to your preferences and skin type. With a little practice, you’ll have a collection of beautifully crafted, nourishing bars of soap that you can use or share as thoughtful, handmade gifts. Enjoy your soap-making journey!