Handmade soap crafting is a delightful blend of creativity and chemistry. It allows you to personalize your cleansing routine while indulging in a therapeutic, creative process. One popular approach in the world of soap making is using soap base. In this guide, we will explore the art of crafting handmade soap using soap base and how to create beautiful, customized bars of soap.
What is Soap Base?
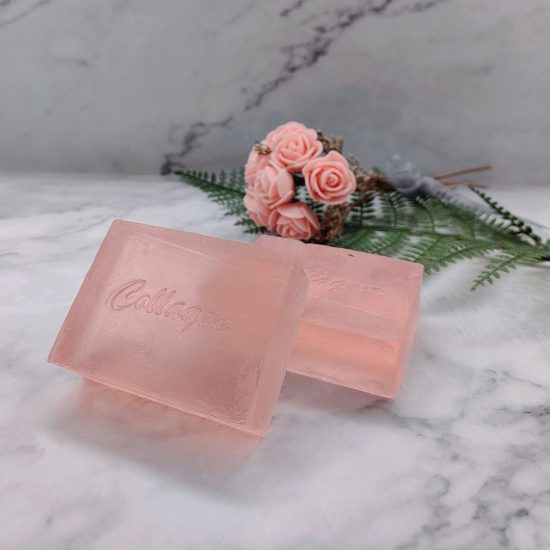
Soap base, often referred to as melt and pour soap base, is a pre-made soap that you can melt, customize, and mold into various shapes and sizes. It forms the foundation of your handmade soap creation, making the process simpler and more accessible for beginners.
Materials You’ll Need
Before you begin your soap-making journey, gather these materials:
- Soap Base: Choose from a variety of options like clear glycerin, white shea butter, honey, aloe vera, or goat’s milk soap base.
- Fragrance Oils: To add enticing scents to your soap. Options are endless, from lavender and citrus to exotic blends.
- Colorants: Select from natural colorants like herbs and spices or cosmetic-grade soap dyes.
- Molds: Silicone molds offer a wide array of shapes and sizes for your soap bars.
- Essential Oils: These provide both fragrance and therapeutic benefits.
- Microwave or Double Boiler: For melting the soap base.
- Cutting Tools: To trim and shape your soap.
Step-by-Step Guide
- Cutting the Soap Base: Begin by slicing the soap base into small, manageable chunks. This makes it easier to melt evenly.
- Melting the Soap Base: There are two primary methods for melting soap base: microwave or double boiler. If you’re using a microwave, heat the chunks in 20-30 second intervals until fully melted. For a double boiler, place the chunks in the top pan and melt over simmering water.
- Adding Fragrance: Once the soap base is molten, stir in your chosen fragrance oil. The amount varies depending on personal preference and the manufacturer’s guidelines.
- Incorporating Color: To add color, introduce your chosen colorant. Start with a small amount, as you can always add more to achieve the desired hue.
- Pouring into Molds: Carefully pour the melted soap base into your selected molds. You can layer colors and add herbs or other decorative elements for an artistic touch.
- Cooling and Setting: Allow the soap to cool and harden in the molds for a few hours. If you’re in a hurry, you can place them in the refrigerator.
- Demolding and Cutting: Once the soap has set, remove it from the molds. Use a sharp knife or soap cutter to trim and shape the bars as desired.
- Curing: To ensure your soap is fully dry and hard, let it cure for a few weeks in a cool, dry place.
- Packaging: After curing, your handmade soap is ready for use or gifting. Package it in an attractive and eco-friendly manner to enhance its appeal.
Benefits of Using Soap Base
- Beginner-Friendly: Melt and pour soap base is perfect for those new to soap making.
- Customization: You have the freedom to add fragrance, color, and other additives to suit your preferences.
- Endless Creativity: Experiment with various soap base types, scents, and designs to create unique soaps.
In conclusion, crafting handmade soap using soap base is an enjoyable and rewarding hobby. It offers a chance to explore your creativity, pamper yourself with personalized cleansing products, and share your creations with friends and family. So, gather your materials, unleash your creativity, and start your soap-making adventure today. Happy crafting!